

 Italiano
 English
Settings
Contents
https://app.supportfast.ai/settings/
The Settings section allows you to configure a range of general parameters for each chatbot, useful for adapting its behavior, integration, and display according to specific needs. Below is an overview of the available options.
Internal Name
The internal name is the identifier label of the chatbot within your Supportfast account.
It is never shown to end users and does not affect the AI’s behavior. It is only used to help you distinguish and organize your chatbots within the dashboard.
By default, the internal name takes its value from the Business Name provided during chatbot creation. You can edit it at any time without impacting the chatbot’s functionality.

OpenAI Key
Assign an OpenAI API key to your chatbot, which will be used for AI-related costs. The API key is required if one has been set at the Account level. You can either use your global key set at account level or enter a new key to be used specifically for this chatbot.
If no key is provided and there is no global key set at the account level, the chatbot will use the AI messages included in your subscription plan, until the available credit is exhausted.
This configuration is useful for keeping AI costs separated across different chatbots, based on clients or usage environments.
Note: This setting is only available to users with Admin or Owner roles.

Domain
If you want to restrict the appearance of the chat bubble to a specific website, you can enter the domain in this section. This way, the chatbot will only be visible within the website that matches the specified domain.
Entering a domain is not mandatory, but it is recommended if you want to prevent the chatbot from being loaded in unauthorized or external contexts.
The domain should be entered in a simplified format, without including the protocol (https) or the www prefix. For example, enter supportfast.ai instead of www.supportfast.ai

Language
Supportfast chatbots can automatically detect the language of the user’s question and respond accordingly. This allows the AI to dynamically adapt to the linguistic context of the person interacting with it.
In addition to the response language, you can also configure the chatbot’s interface language, choosing from Italian, English, German, French, and Spanish. When a user accesses the chatbot, the system detects the browser’s language and, if it is among the active languages in the chatbot, it will use it to display the interface.
If the browser language does not match any of the active languages, but English is enabled, English will be used. Otherwise, the chatbot will display the interface in one of the available languages.
By default, the chatbot uses the language of your Supportfast user account, but you can change it at any time. To enable or disable a language, simply click on the corresponding option in the list.

Privacy Policy
This section allows you to add the link to your company’s Privacy Policy, ensuring that users are properly informed before using the chatbot.
You can configure a different link for each active language in your chatbot. This means that if a user views the chatbot in a specific language and a policy link has been set for that language, a consent request screen will automatically be displayed.
In this case, before starting the conversation, the user will have to accept the Privacy Policy through a simple confirmation button. Only after giving consent will they be able to interact with the chatbot.
Once accepted, the policy will not be shown again for 30 days for that user, unless they access the chatbot from a different browser or device.

Rate Limiting
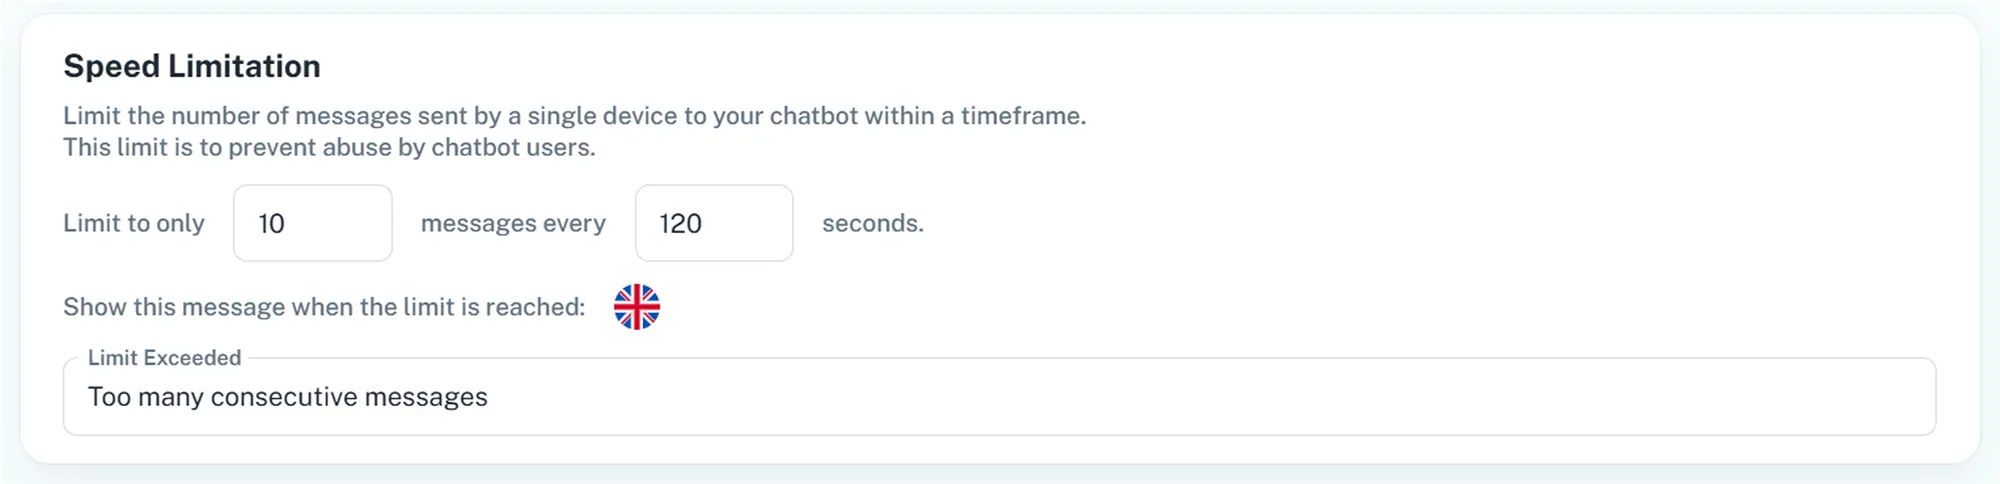
This section allows you to set up an anti-spam protection mechanism, useful for preventing abuse or misuse of the chatbot by malicious users or automated bots. The system works by limiting the number of messages a single user can send within a specific time frame. The user is identified through their IP address.
To configure the limitation, you need to specify:
- the maximum number of allowed messages.
- the time interval over which the limitation applies, expressed in seconds.
For example, you can decide that each user is allowed to send a maximum of 10 messages every 120 seconds. Once this threshold is exceeded, the chatbot will temporarily block further message sending from that user.
You can also define a custom message that will be displayed when the block is triggered. This message can be translated and configured in all the active languages of your chatbot, ensuring a consistent experience for international users.
Monthly Message Limit
This setting allows you to define a maximum number of messages that a chatbot can handle each month. The count includes both messages covered by your subscription plan and those sent via a personal OpenAI API key.
You can choose whether or not to enable this limitation. If enabled, simply specify the maximum number of messages allowed during the month. Once the limit is reached, the chatbot will temporarily stop responding until the following month.
This feature is particularly useful for those using Supportfast in Whitelabel mode, as it allows control over chatbot usage assigned to clients, preventing excessive or unexpected consumption.
Note: This setting is only available to users with Admin or Owner roles.

Mandatory Contact Form
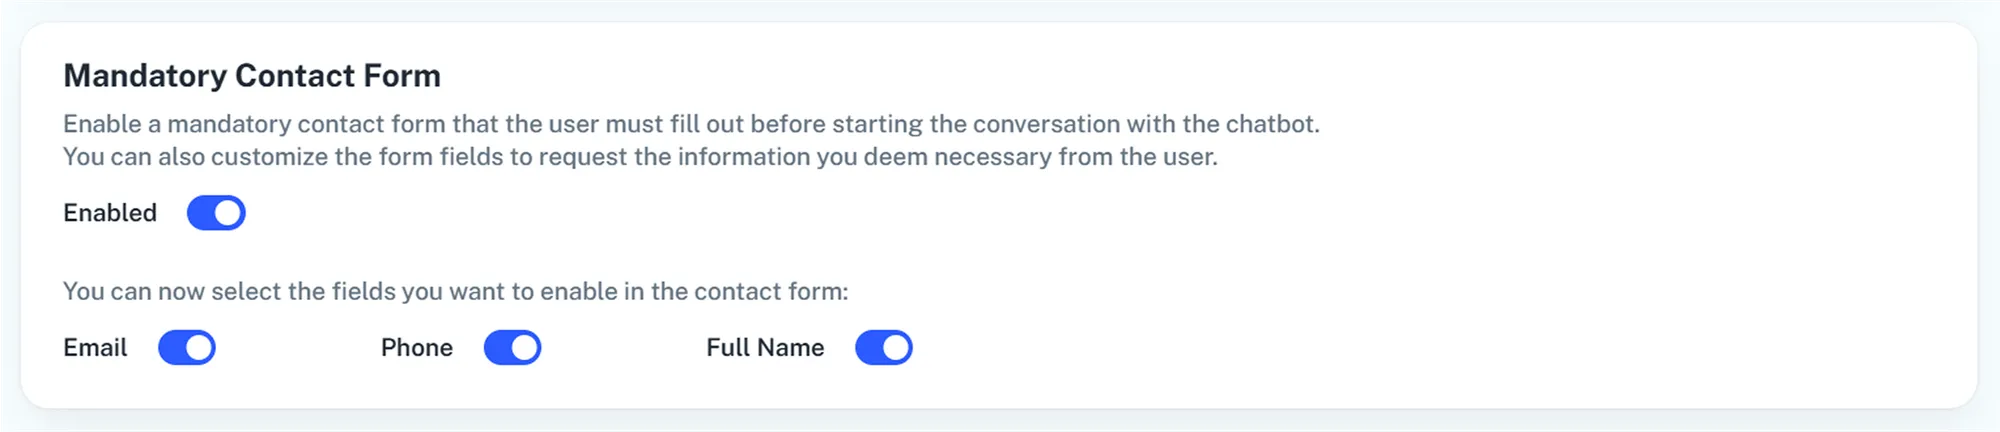
This setting allows you to enable a mandatory contact form that users must fill out before they can start chatting with your chatbot. It is especially useful when you want to always collect contact information from users interacting with the bot, for example, for lead generation purposes.
When the form is active, the chatbot will automatically display it to the user before starting the conversation. The collected data is saved and made available in the chatbot’s Statistics section, so you can access it at any time.
You can choose whether to enable the form and select which fields should be visible and required for the user. Currently, the available fields are:
- Phone Number
- Full name
Note: An update is in development that will allow customization of form fields and texts.
Live Chat Button
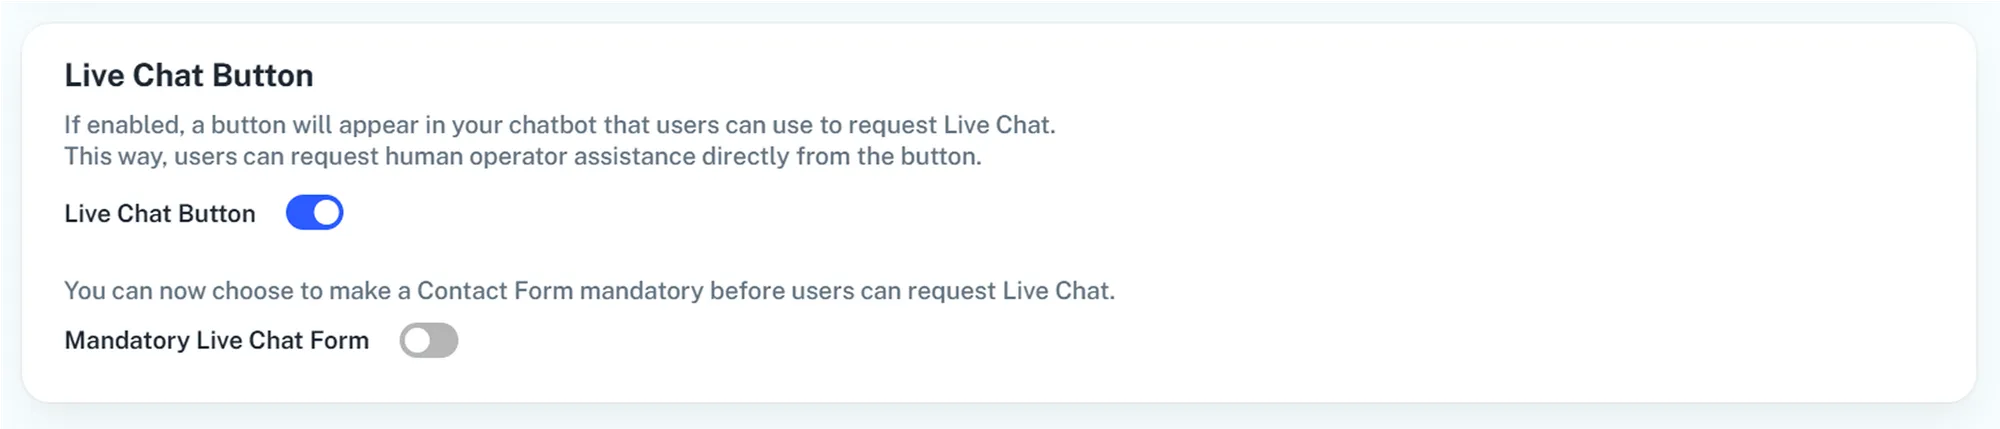
This setting allows you to enable a button in your chatbot that users can click to request assistance from a human agent. When enabled, the user will see a button within the chatbot interface, which they can use at any time to request real-time human support.
In addition to manual activation by the user, you can also configure the AI to automatically trigger the Live Chat under certain conditions, using custom logic defined in the Playground.
You can choose whether to enable this feature, and whether to require the user to fill out a mandatory contact form before the request for human intervention is sent. The form is managed just like the general contact form: you can enable fields such as email, phone number, and full name, or use custom fields, and modify the form’s text.
Once a support request is submitted, the conversation can be managed directly from the Statistics section of your chatbot, where all pending interactions will be visible and ready to be assigned.
Email Notifications
In this section, you can enable email notifications to keep track of key events happening on your chatbot in real time. It’s a useful tool to stay updated on important interactions without having to constantly access the platform.
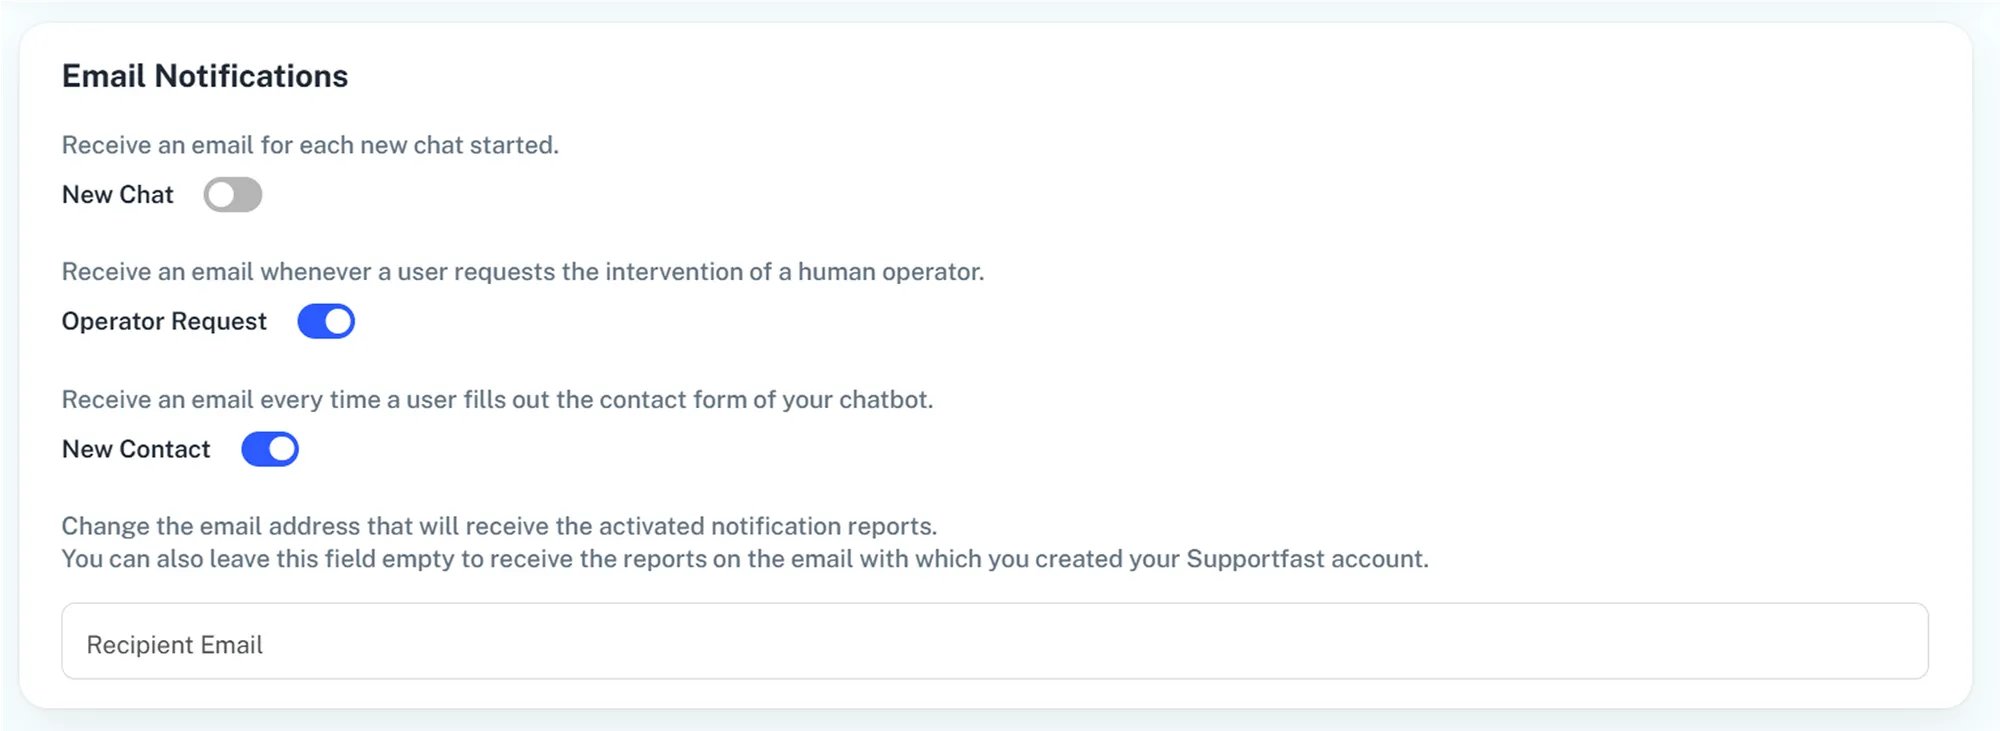
Currently, notifications are available for three types of events:
- New Chat: receive an email every time a user starts a new conversation with the chatbot.
- Operator Request: receive a notification when a user completes the process to request human assistance, either via the Live Chat button or through logic defined in the Playground.
- New Contact: receive a notification whenever a user fills out a contact form. The email will include the data submitted by the user.
You can also customize the email address that will receive these alerts, or leave it blank if you want the notifications to be sent to the email of the Owner user of your account.
If you are using Supportfast in Whitelabel mode, notifications will be sent from the email address configured in the Whitelabel Settings section and will include the logo and custom branding of your portal.
Delete Chatbot
If a chatbot is no longer needed, you can delete it directly from its Settings page. This action permanently removes the chatbot from your account.
It is important to note that deletion is irreversible: once confirmed, all configurations, training data, content, and any associated data will be permanently deleted. It will not be possible to recover them later.
To proceed, scroll to the bottom of the Settings page and click the “Delete Chatbot” button. A confirmation window will appear, asking you to approve the operation. Only after final confirmation will the chatbot be permanently removed from the system.
Note: This setting is only available to users with Admin or Owner roles.
